Want buyers to stop scrolling and book a showing? In Winchester and nearby Middlesex County towns, thoughtful staging helps your home photograph beautifully, feel move-in ready, and highlight the character today’s buyers value. Whether you are prepping a classic Colonial or a renovated bungalow, a smart plan can make a clear impact without overspending. Below, you will find a practical, Winchester-focused guide that covers what local buyers look for, room-by-room staging checklists, curb appeal in winter and spring, and an easy timeline to follow. Let’s dive in.
Why staging matters in Winchester
Buyers in Winchester often tour multiple homes in a single weekend. Clean, well-lit rooms and clear furniture layouts make it easier for them to picture daily life and understand your home’s flow. Industry insights show that staging helps buyers visualize potential, can reduce time on market, and influences offers when key rooms are presented well.
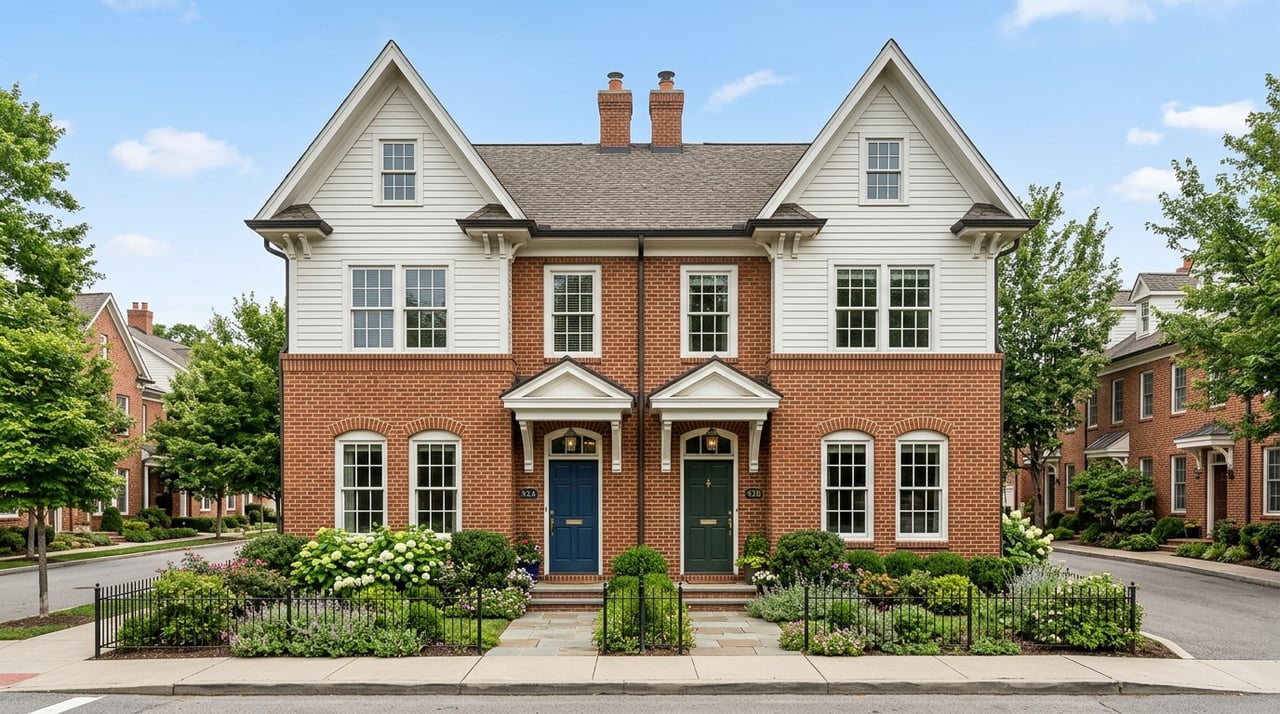
Many homes here feature period details like millwork, fireplaces, and built-ins. Staging should highlight those strengths while keeping the overall look neutral. The goal is to honor the architecture, remove distractions, and guide attention to what makes your home special.
What local buyers prioritize
In Winchester and neighboring towns, many buyers look for flexible living space, updated kitchens and baths, and dedicated spots for working from home. Storage and mudroom organization help families imagine smooth daily routines. Outdoor areas such as decks and yards also matter, especially when they feel like extensions of the living space.
Short winter days and spring bloom affect curb appeal and interior brightness. A good plan accounts for seasonal light, safe access, and the best timing for exterior photos.
Room-by-room staging checklist
Use these checklists to prep for photos and showings. Start with the must-do items before adding upgrades.
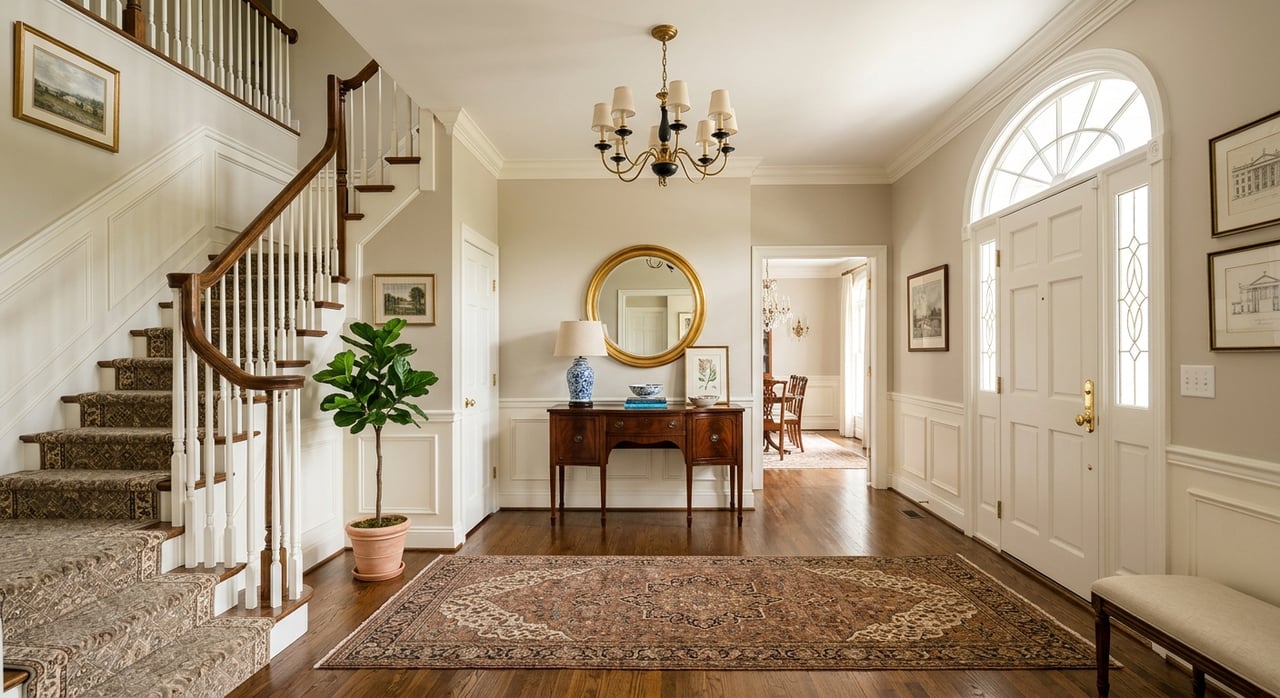
Entry and foyer
- Must-do: Clear the pathway, remove shoes and clutter, wipe surfaces, add a simple seasonal doormat, and use daylight or soft-white bulbs.
- Recommended: Small bench or chair, one piece of art, and a single plant or vase.
- Optional: Update door hardware and paint the front door a clean, complementary color.
Living room and family room
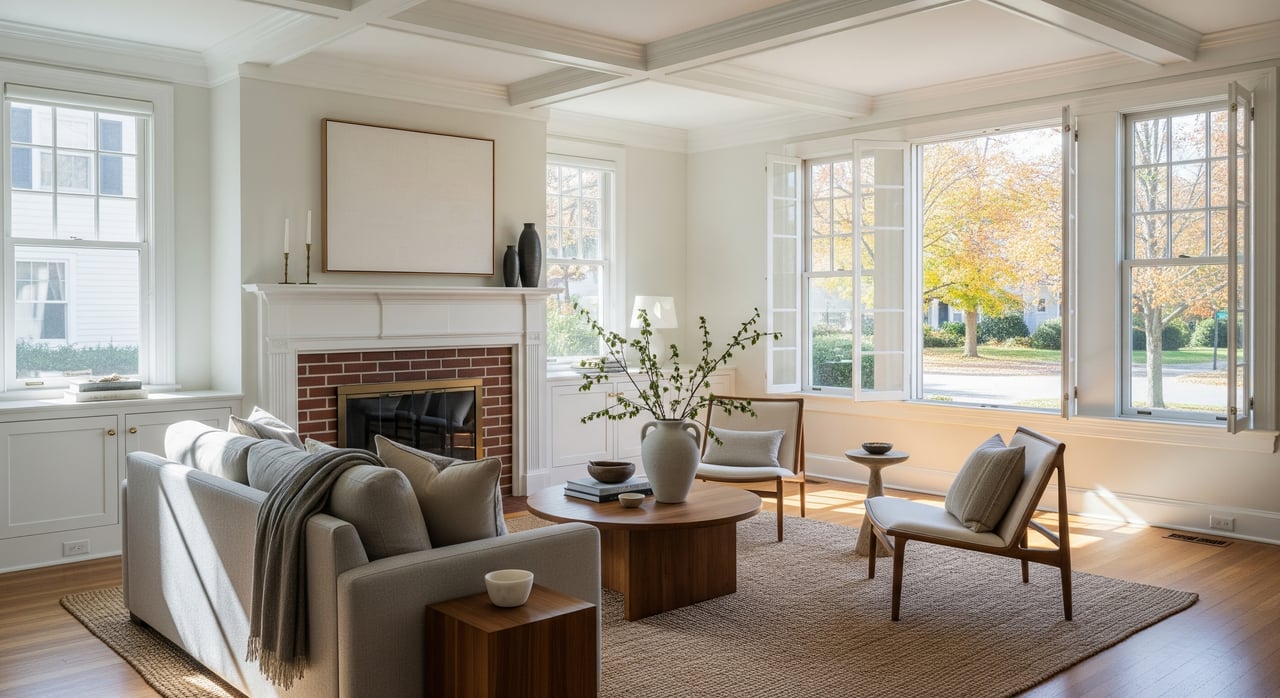
- Must-do: Remove extra furniture to create clear traffic flow, arrange seating around a focal point like a fireplace or window, declutter surfaces, and maximize daylight.
- Recommended: Add table lamps for layered lighting, a neutral area rug, and minimal pillows or a throw for warmth.
- Optional: Rent scaled furniture to show function in small or awkward spaces.
Kitchen
- Must-do: Deep clean appliances and counters, clear the fridge of magnets and papers, keep only one or two attractive items on counters, consider low-cost hardware updates, and ensure good lighting over prep areas.
- Recommended: Stage a small breakfast spot if possible and show organized storage by opening one neat cabinet for photos.
- Optional: Minor cosmetic refreshes like a backsplash touch-up if the return justifies the cost.
Dining room
- Must-do: Clear the table, add simple place settings, make sure chairs fit without crowding, and remove personal items.
- Recommended: Use a simple runner and understated centerpiece, and verify lighting is photo-ready.
- Optional: Rent a modern dining set if existing furniture dates the room.
Primary bedroom
- Must-do: Use neutral bedding with a single accent layer, remove excess furniture and personal photos, and edit closets to show capacity.
- Recommended: Add two bedside lamps, minimal art, and a bench or chair.
- Optional: Professional bedding and styling for higher-end listings.
Secondary bedrooms and flex rooms
- Must-do: Reduce toy and hobby clutter, and clearly define use as a bedroom or office.
- Recommended: Neutral bedding and a compact desk for a home-office setup.
- Optional: Themed staging only if it fits likely buyer needs.
Bathrooms
- Must-do: Professional-level cleaning, remove toiletries, refresh grout and caulk, replace stained shower curtains, and add fresh neutral towels.
- Recommended: Swap dated fixtures like showerheads or faucets if they look worn.
- Optional: Regrout or minor tile updates where it impacts perceived quality.
Home office or study area
- Must-do: Stage a clear workspace with a desk, chair, and simple accessories to show productivity potential.
- Recommended: Hide cords, manage cables, and show dual functions where relevant, like office and guest space.
Basement, attic, and utility spaces
- Must-do: Clean, dehumidify if needed, and brighten with adequate lighting. Present as organized storage or a finished recreation area when appropriate.
- Recommended: Label mechanicals and make them accessible. Paint concrete floors for a cleaner look.
- Optional: Partial finishing if buyer demand and price point support the investment.
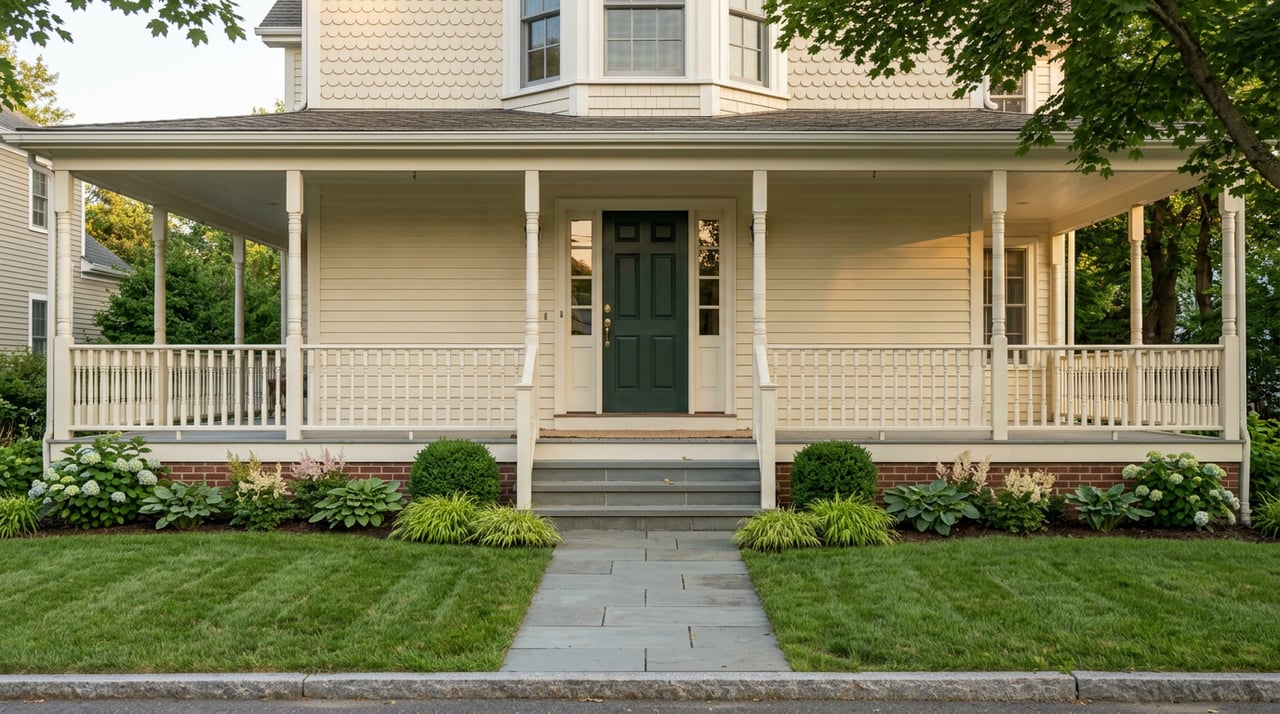
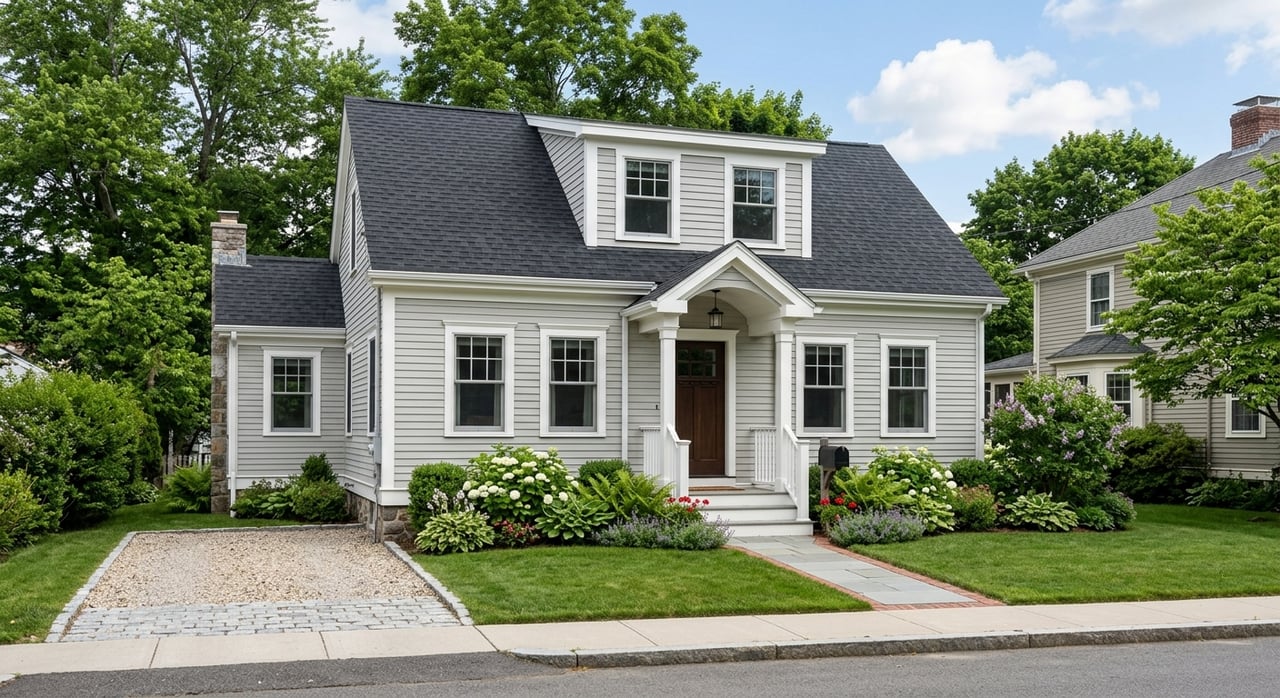
Exterior and outdoor living
- Must-do: Power-wash siding and walkways, clean windows, sweep porches, clear gutters, manage snow or leaves, tidy lawns, and confirm exterior lights work.
- Recommended: Add potted seasonal plants near the entry, refresh house numbers and mailbox if worn, and stage decks or patios with simple furniture.
- Optional: Add outdoor lighting for evening photos or use professional landscaping for higher-end properties.
Storage and closets
- Must-do: Declutter to show capacity, removing at least half of contents if possible.
- Recommended: Use uniform hangers and labeled bins on lower shelves.
Lighting, color, and furniture tips
- Keep walls in light, neutral tones so rooms feel larger and brighter. This lets architectural details stand out without visual noise.
- Use consistent color temperature in light bulbs across rooms for a cohesive feel. Daylight or soft-white bulbs work well in photos.
- Right-size furniture to the space. A scaled sofa or smaller dining table can clarify layout and make rooms feel more open.
- Remove heavy window treatments to let in more natural light. Trim plantings that block windows.
Curb appeal and seasonal photo strategy
New England seasons shape how your home looks online and in person. Plan your approach ahead of listing.
Winter priorities
- Keep walkways and driveways shoveled and ice-free for safety.
- Clear snow piles from the front entry and store winter gear out of sight.
- Boost exterior lighting with warmer bulbs and consider twilight photos to create welcoming curb presence.
- Use tasteful, minimal seasonal decor and avoid clutter that can date photos.
Spring priorities
- Refresh beds with mulch, prune shrubs, and add early bulbs for color.
- Tackle minor exterior repairs and paint touch-ups before the spring bloom.
- Stage decks and patios to show outdoor living potential.
Photo timing options
- Shoot interiors now and exteriors later: You can list in winter with strong interior photos, then update exterior shots when landscaping improves. Check MLS rules on replacing images.
- Wait for spring: If outdoor space is a key selling point, postponing the launch can deliver brighter, more cohesive photos.
- Hybrid: Combine professional interiors with twilight exteriors, or schedule a re-shoot for exterior images once the yard is in peak condition.
Vendor coordination and timeline
A little planning goes a long way. Here is a straightforward schedule you can adapt to your timeline.
Key vendors to consider
- Home stager, photographer, cleaner, landscaper or snow-removal contractor
- Handyman, painter, electrician, plumber
- Movers or short-term storage, carpet cleaner or floor refinisher
- Pre-listing inspector or contractor for prioritized repairs
Suggested timeline
- 3 to 4 weeks before listing: Walk-through and staging plan. Order repairs and, if desired, a pre-listing inspection.
- 2 to 3 weeks before listing: Deep clean, paint touch-ups, decluttering, and landscaping as weather allows. Schedule any rented furniture delivery.
- 7 to 10 days before listing: Professional photography. Tweak staging after a photographer’s pre-visit if possible.
- Listing day: Go live with high-quality photos and clear showing instructions.
- After listing: If spring curb appeal improves, schedule an exterior re-shoot and update images according to MLS rules.
Contracts and logistics
- Confirm scope in writing, including rooms staged, rental duration, and pickup dates.
- Coordinate access, keys, and any alarm details with your vendors.
- Align on any differences between photo-day styling and open house setups.
- Make sure vendors working inside the home carry proper insurance.
Budget-smart upgrades that pay off
Start with low-cost, high-impact tasks: decluttering, professional cleaning, paint touch-ups, consistent light bulbs, and fresh linens. These basics often deliver outsized results in photos and showings.
Next, consider mid-level investments if needed: hardware swaps, simple landscaping refreshes, targeted staging for the living room, kitchen, primary bedroom, and a home office. Reserve higher-cost projects like whole-house furniture rental or cosmetic kitchen and bath updates for listings where comparable sales and price point support the spend.
Final thoughts
In Winchester’s competitive market, a well-staged home tells a clear story: bright rooms, defined functions, and inviting outdoor space. Focus on the rooms that matter most, respect the home’s architecture, and plan for seasonal curb appeal. With a thoughtful checklist and a coordinated timeline, you will present your home at its best both online and in person.
If you want personalized staging guidance, a vendor plan, or a pricing strategy tailored to your neighborhood, reach out to the team at JMR Real Estate Group. We are here to help you prepare with confidence and list with impact.
FAQs
Should I stage the whole house or just key rooms?
- Focus first on high-impact spaces: the main living area, kitchen, primary bedroom, and a home office. Full-house staging is most useful for vacant homes.
How much should I budget for staging in Winchester?
- Start with low-cost essentials like cleaning, decluttering, and paint touch-ups. Add targeted upgrades only where they support your price point and comparables.
Can virtual staging replace physical staging?
- Virtual staging can enhance online photos when used transparently, but buyers still expect a home to feel inviting during showings. Use it to complement, not replace, in-person preparation.
What is the best time to photograph and list in winter?
- If outdoor spaces are key to your value, consider waiting for spring exterior photos. Otherwise, list with strong interiors now and plan a spring exterior re-shoot.
How do I highlight my home’s older architectural details?
- Keep finishes neutral and uncluttered so millwork, mantels, and built-ins stand out. Arrange furniture to frame the focal point rather than compete with it.
Do I need to repaint before listing?
- If walls are bold or scuffed, a light neutral refresh helps rooms feel larger, brighter, and more cohesive in both photos and showings.